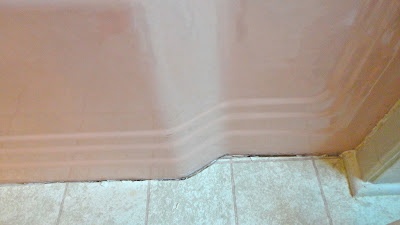
We literally have done nothing in regards to the bathroom since we moved in. We plan on refinishing the bathtub and tiling but for now I want to focus on other areas. One thing that had been driving me absolutely crazy was the moldy caulk. It was absolutely gross! So we decided to replace it….I mean how hard could it possibly be? Let's just say Jared had the f-bombs flying….
You will need:
-Box Cutter or we used this caulk remover tool that worked really well
-Toothbrush
-Bleach
-Rag or paper towels
-Caulk
-Painter's tape
This picture was taken when we first moved in…the house came with the grungy shower curtain which I can assure you was promptly taken down!
The first step was to remove all of the caulk. This was the most painful process because we had to remove two old layers of caulk.
The next step is to clean the areas you are going to put the new caulk. Use a toothbrush with bleach to prevent mold from growing behind the new caulk. Then dry the area thoroughly.
Then we outlined the areas we needed to caulk with painter's tape. This step will make your life soooo much easier, trust me!
Lastly, use your finger to smooth out the caulk and remove the painter's tape before it dries.
There you have it, this is how we re-caulked our bathtub! Hopefully it'll last us until we decide to refinish the bathroom!


No comments:
Post a Comment